How To Add Course Documents
This guide explains how to upload and attach PDF documents to a course, ensuring users have access to all necessary files and materials.
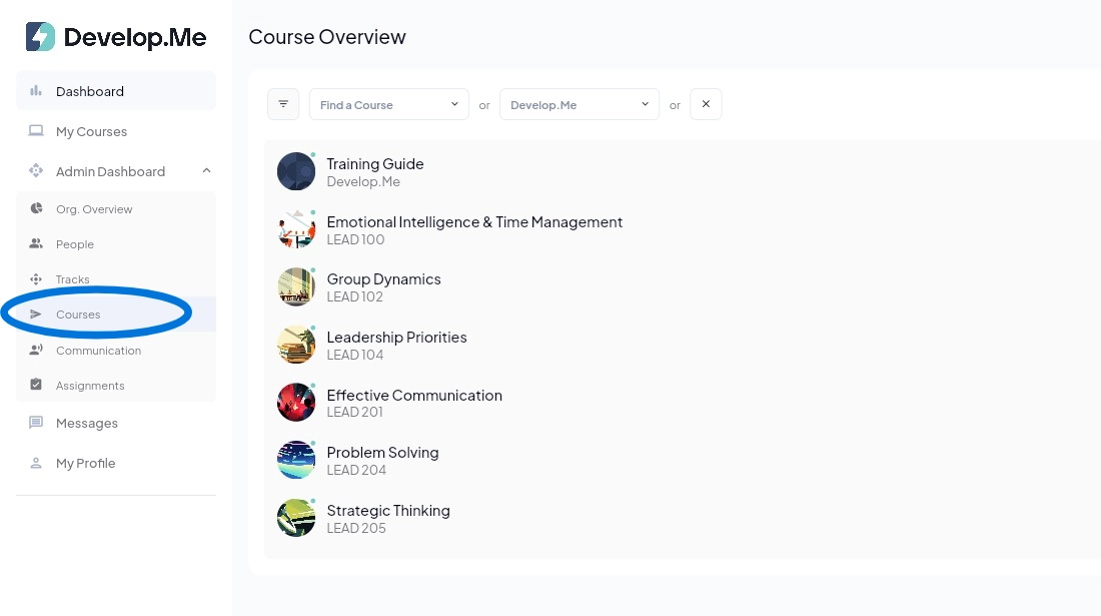
1. Navigate to the "Courses" tab in the left menu bar.
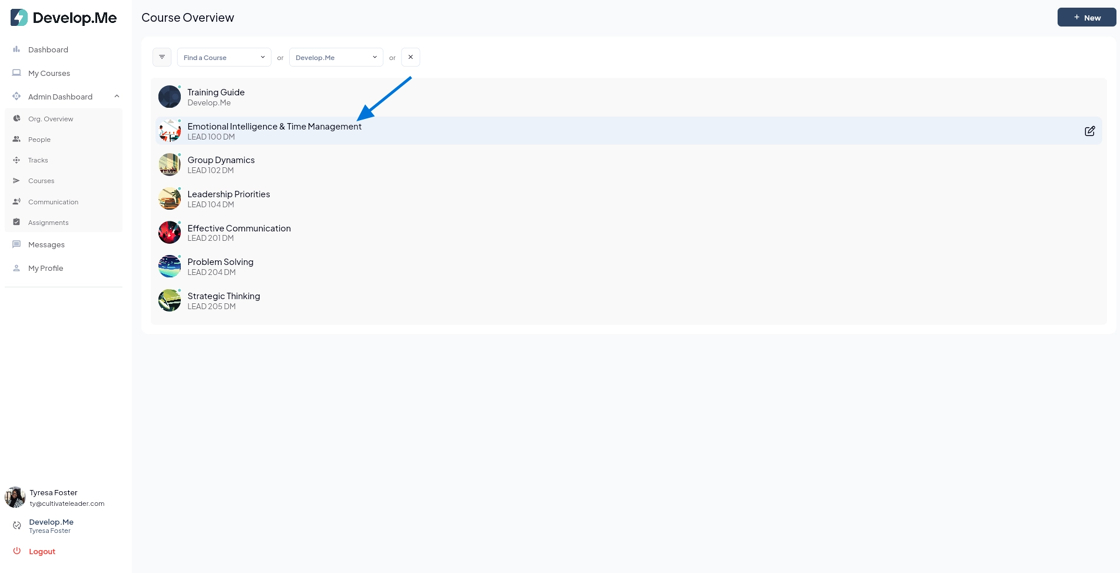
2. Next, click on the specific course where you want to add the documents.
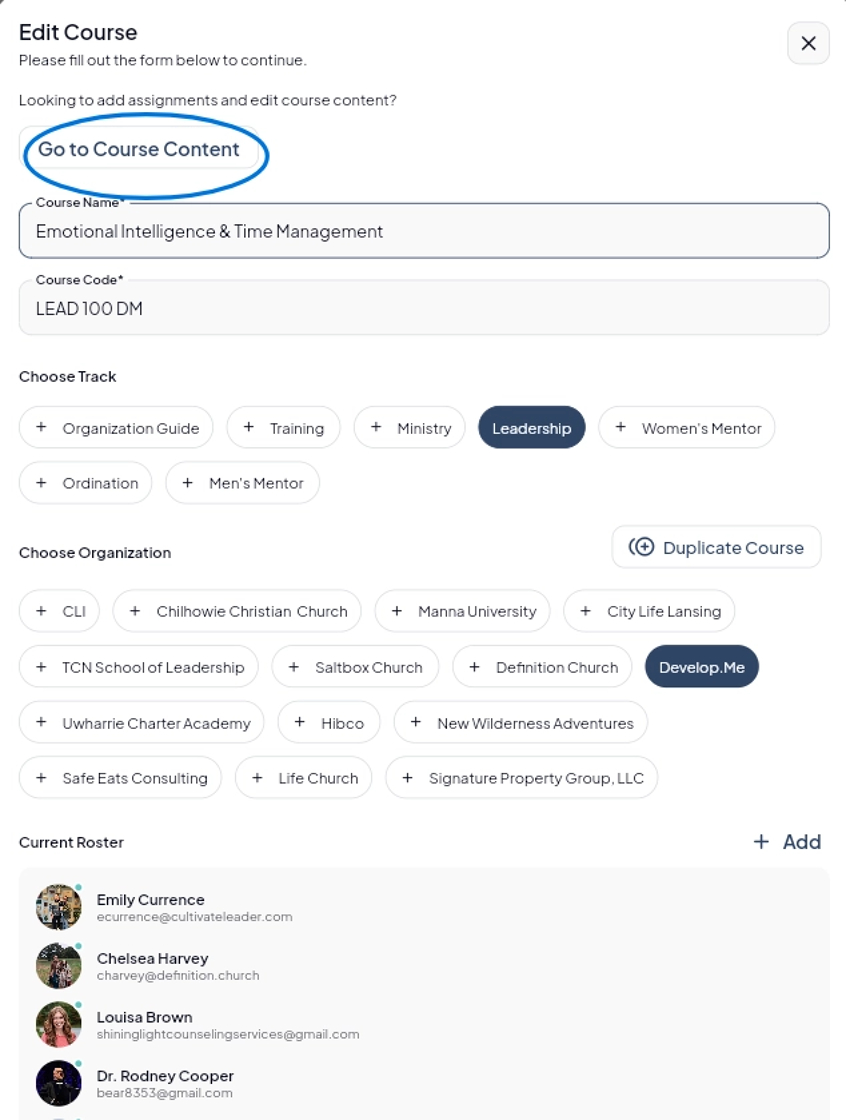
3. Click on "Go to Course Content" to access the full course and manage all course materials.
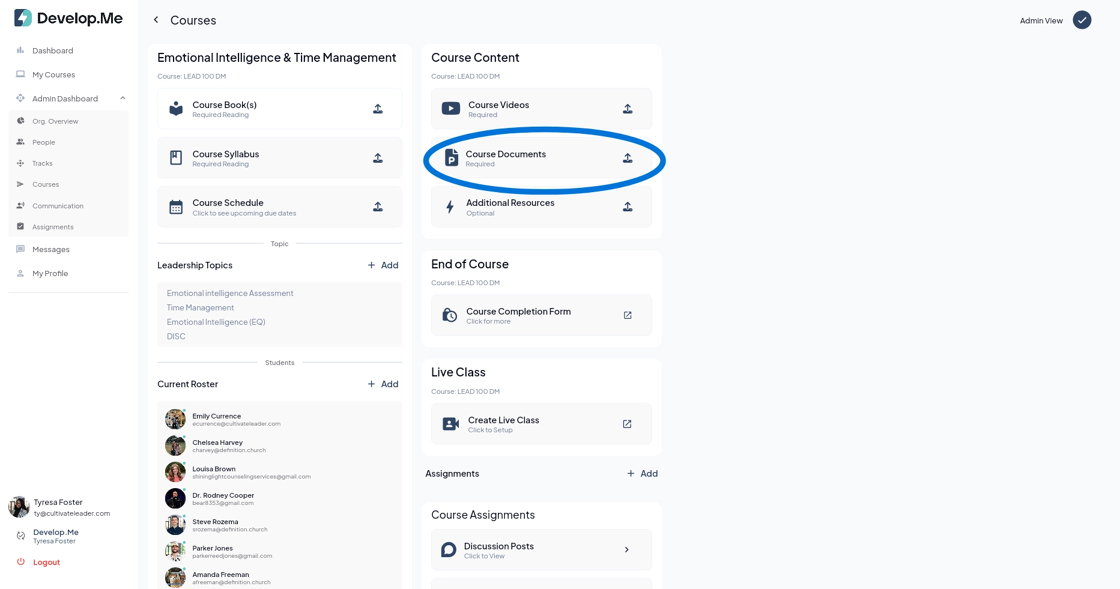
4. Next, click the "Admin View" button located in the top right-hand corner to switch to admin mode and begin making edits to the course.

5. Click "Course Documents" to upload a file directly to the course.
6. Next, click "+PDF Upload" to add files. Please note that each document must be uploaded individually.

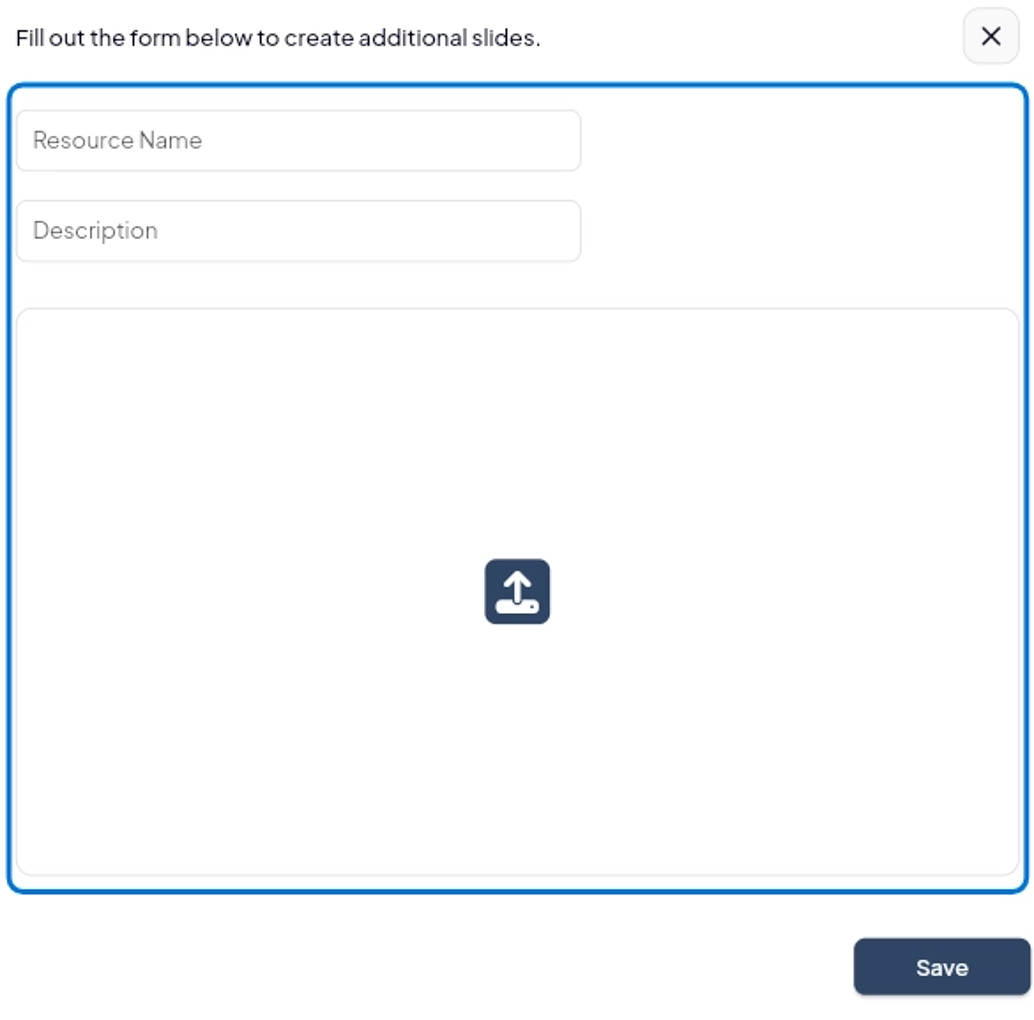
7. To upload a PDF document, enter the resource name, add a short description, upload the file, and click "Save".
8. You can organize your documents by creating folders and then dragging and dropping each file into its designated folder for easy access and management.

9. Congratulations! You've successfully added course documents.
