
How To Create An Assignment
This guide walks you through the simple steps to create a new assignment in your course. You’ll learn how to set assignment details, upload materials, and configure due dates, ensuring users have clear instructions and resources to complete their work.
1. Navigate to the "Courses" tab in the left menu bar.

2. Next, click on the specific course where you want to add the assignments.

3. Click on "Go to Course Content" to access the full course and manage all course materials.

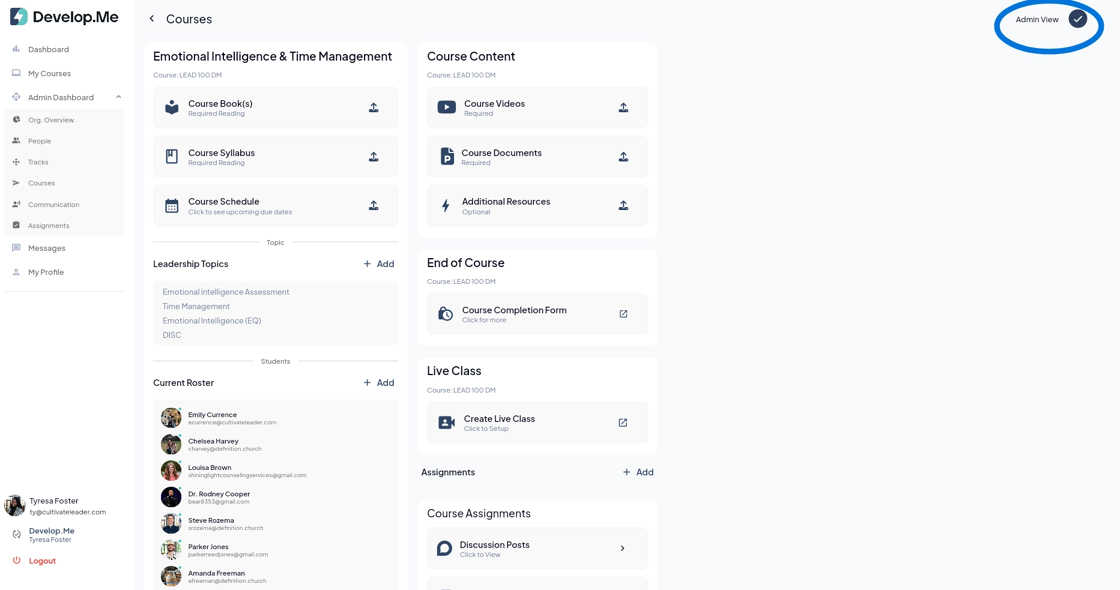
4. Next, click the "Admin View" button located in the top right-hand corner to switch to admin mode and begin making edits to the course.
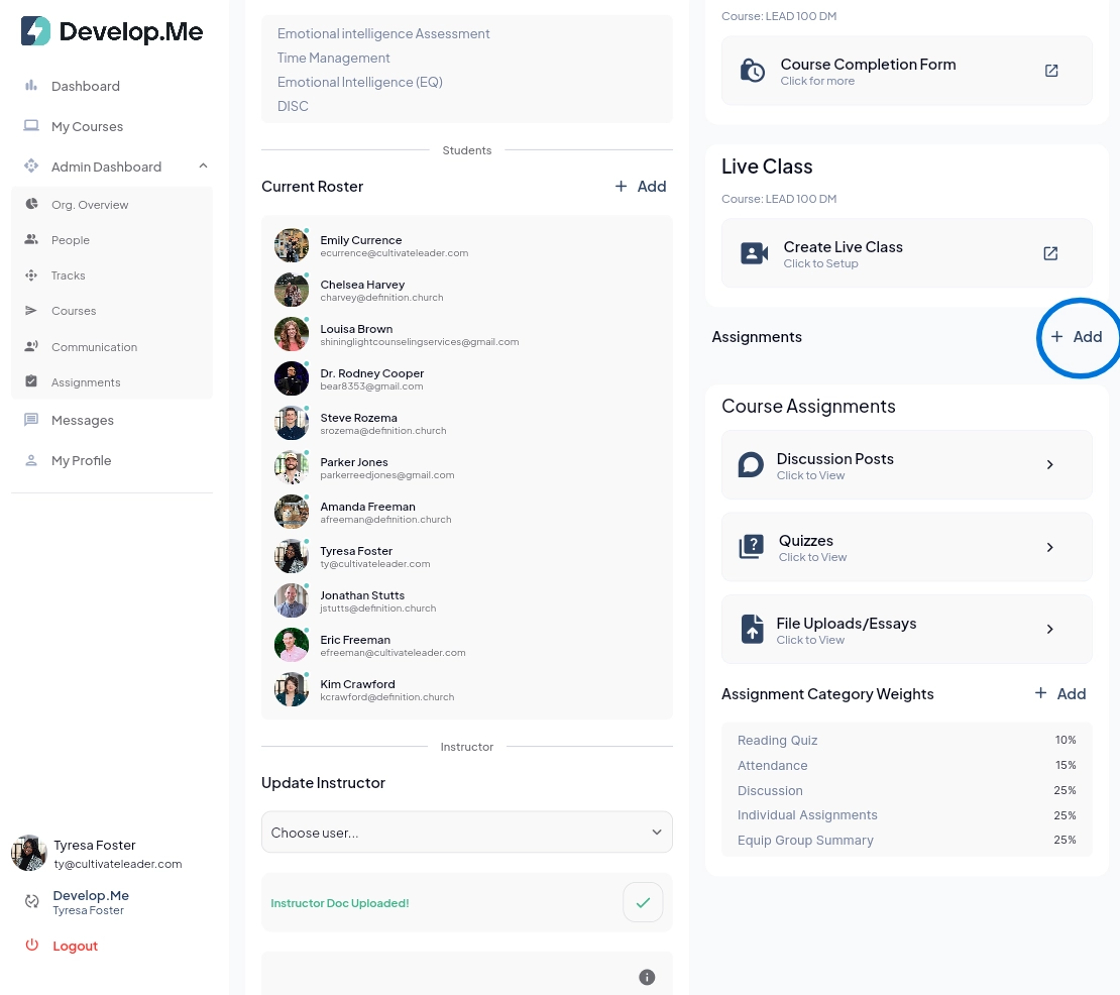
5. Click "+Add" button to start creating a new assignment.
6. You can choose from three assignment types:
- Discussion Posts – to engage users in conversation
- Quizzes– to assess knowledge through multiple choice, true/false, and short answer questions
- File Upload/Essays– for uploading essays, documents, and projects

7. Creating a Quiz
1. Quiz Name/Title-type a clear, descriptive title for your quiz (e.g., Leadership Basics Quiz).
2. Quiz Description-provide instructions or an overview of what the quiz covers.
Example: This quiz will assess your understanding of key leadership concepts.
3. Resource Link(optional)-if you’d like users to review a reading, video, or webpage, enter a Link Title (e.g., "Leadership Article") and paste the URL.
4. Customize Assignment Thumbnail(optional): -upload an image to represent the quiz visually.
5. Upload File(optional)-if you want users to reference a document (like study notes or a reading PDF), upload it here.
Adding Quiz Questions
6. Set Quiz Answers-you will select correct answers after adding questions.
7. Choose a Content Block-select the type of question you want to add:
· Multiple Select– allows more than one correct answer
· Multiple Choice– only one correct answer
· True or False – simple true/false question
· Short Answer – open response field
Tip: You can add as many question blocks as needed.
Final Settings
8. Due Date- click date/time to assign when the quiz is due.
9. Assignment Weight - enter the percentage this quiz counts toward the final grade.
Example: 10% of total grade.
10. Save the Quiz-click "Create Quiz" to finalize.

8. Creating a Discussion Post
1. Enter Post Name/Title-add a clear title for the discussion (e.g.,Time Management Strategies).
2. Write a Discussion Prompt-provide the question or topic users will respond to.
3. Resource Link(optional)-include a link title and URL if you want users to review an external resource.
4. Upload File(optional)-if you want users to reference a document (like study notes or a reading PDF), upload it here.
5. Set Word Count Requirements-enter the minimum word count for the initial post.
6. Require Replies (optional)-toggle "Require Replies" on if users must respond to peers. Specify the number of replies and word count per reply.
7. Set Due Date-choose the date and time the discussion is due.
8. Assignment Weight-enter the percentage this discussion counts toward the final grade.
9.Create Post- click to finalize the discussion assignment.

9. Creating a File Upload Assignment
1. Assignment Name – enter a clear title (e.g., Case Study Submission).
2. Assignment Description – briefly state what users will submit and how it will be graded.
3. Assignment Prompt – add detailed instructions (requirements, format, file naming).
4. Resource Link(optional) – add a link title and URL to any reading/video.
5. Thumbnail(optional) – Upload an image to represent the assignment.
6. Upload File (optional) – Attach a template, rubric, or sample for users to download.
7. Due Date – click date/time to select when the submission is due.
8. Individual Assignment Weight– enter the percent this assignment is worth.
9. Save– click save to publish the assignment.

10. Congratulations! You've successfully created an assignment.