
How To Designate an Admin in Your Organization
This guide provides steps to give a user admin permissions in your organization, enabling them to manage settings, users, courses, and communications.
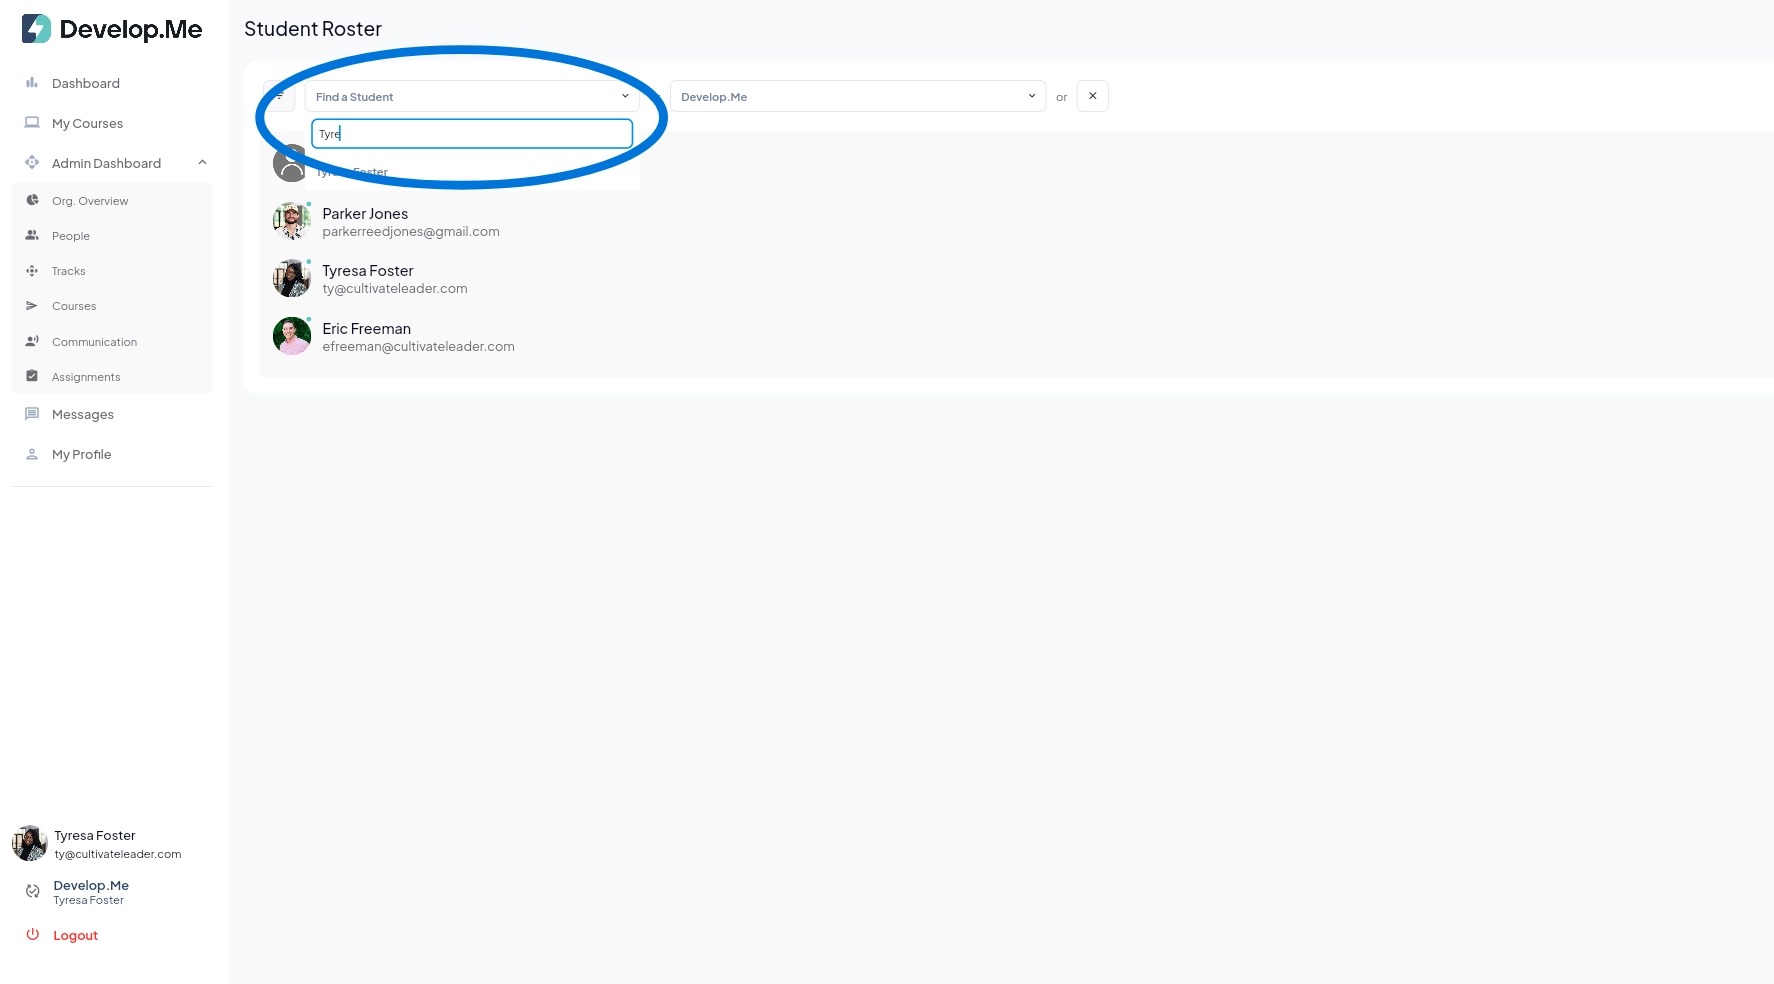
1. Navigate to the “People” tab from the left-hand menu bar to view and manage all users in your organization.

2. To look up an individual, type their name in the search bar.
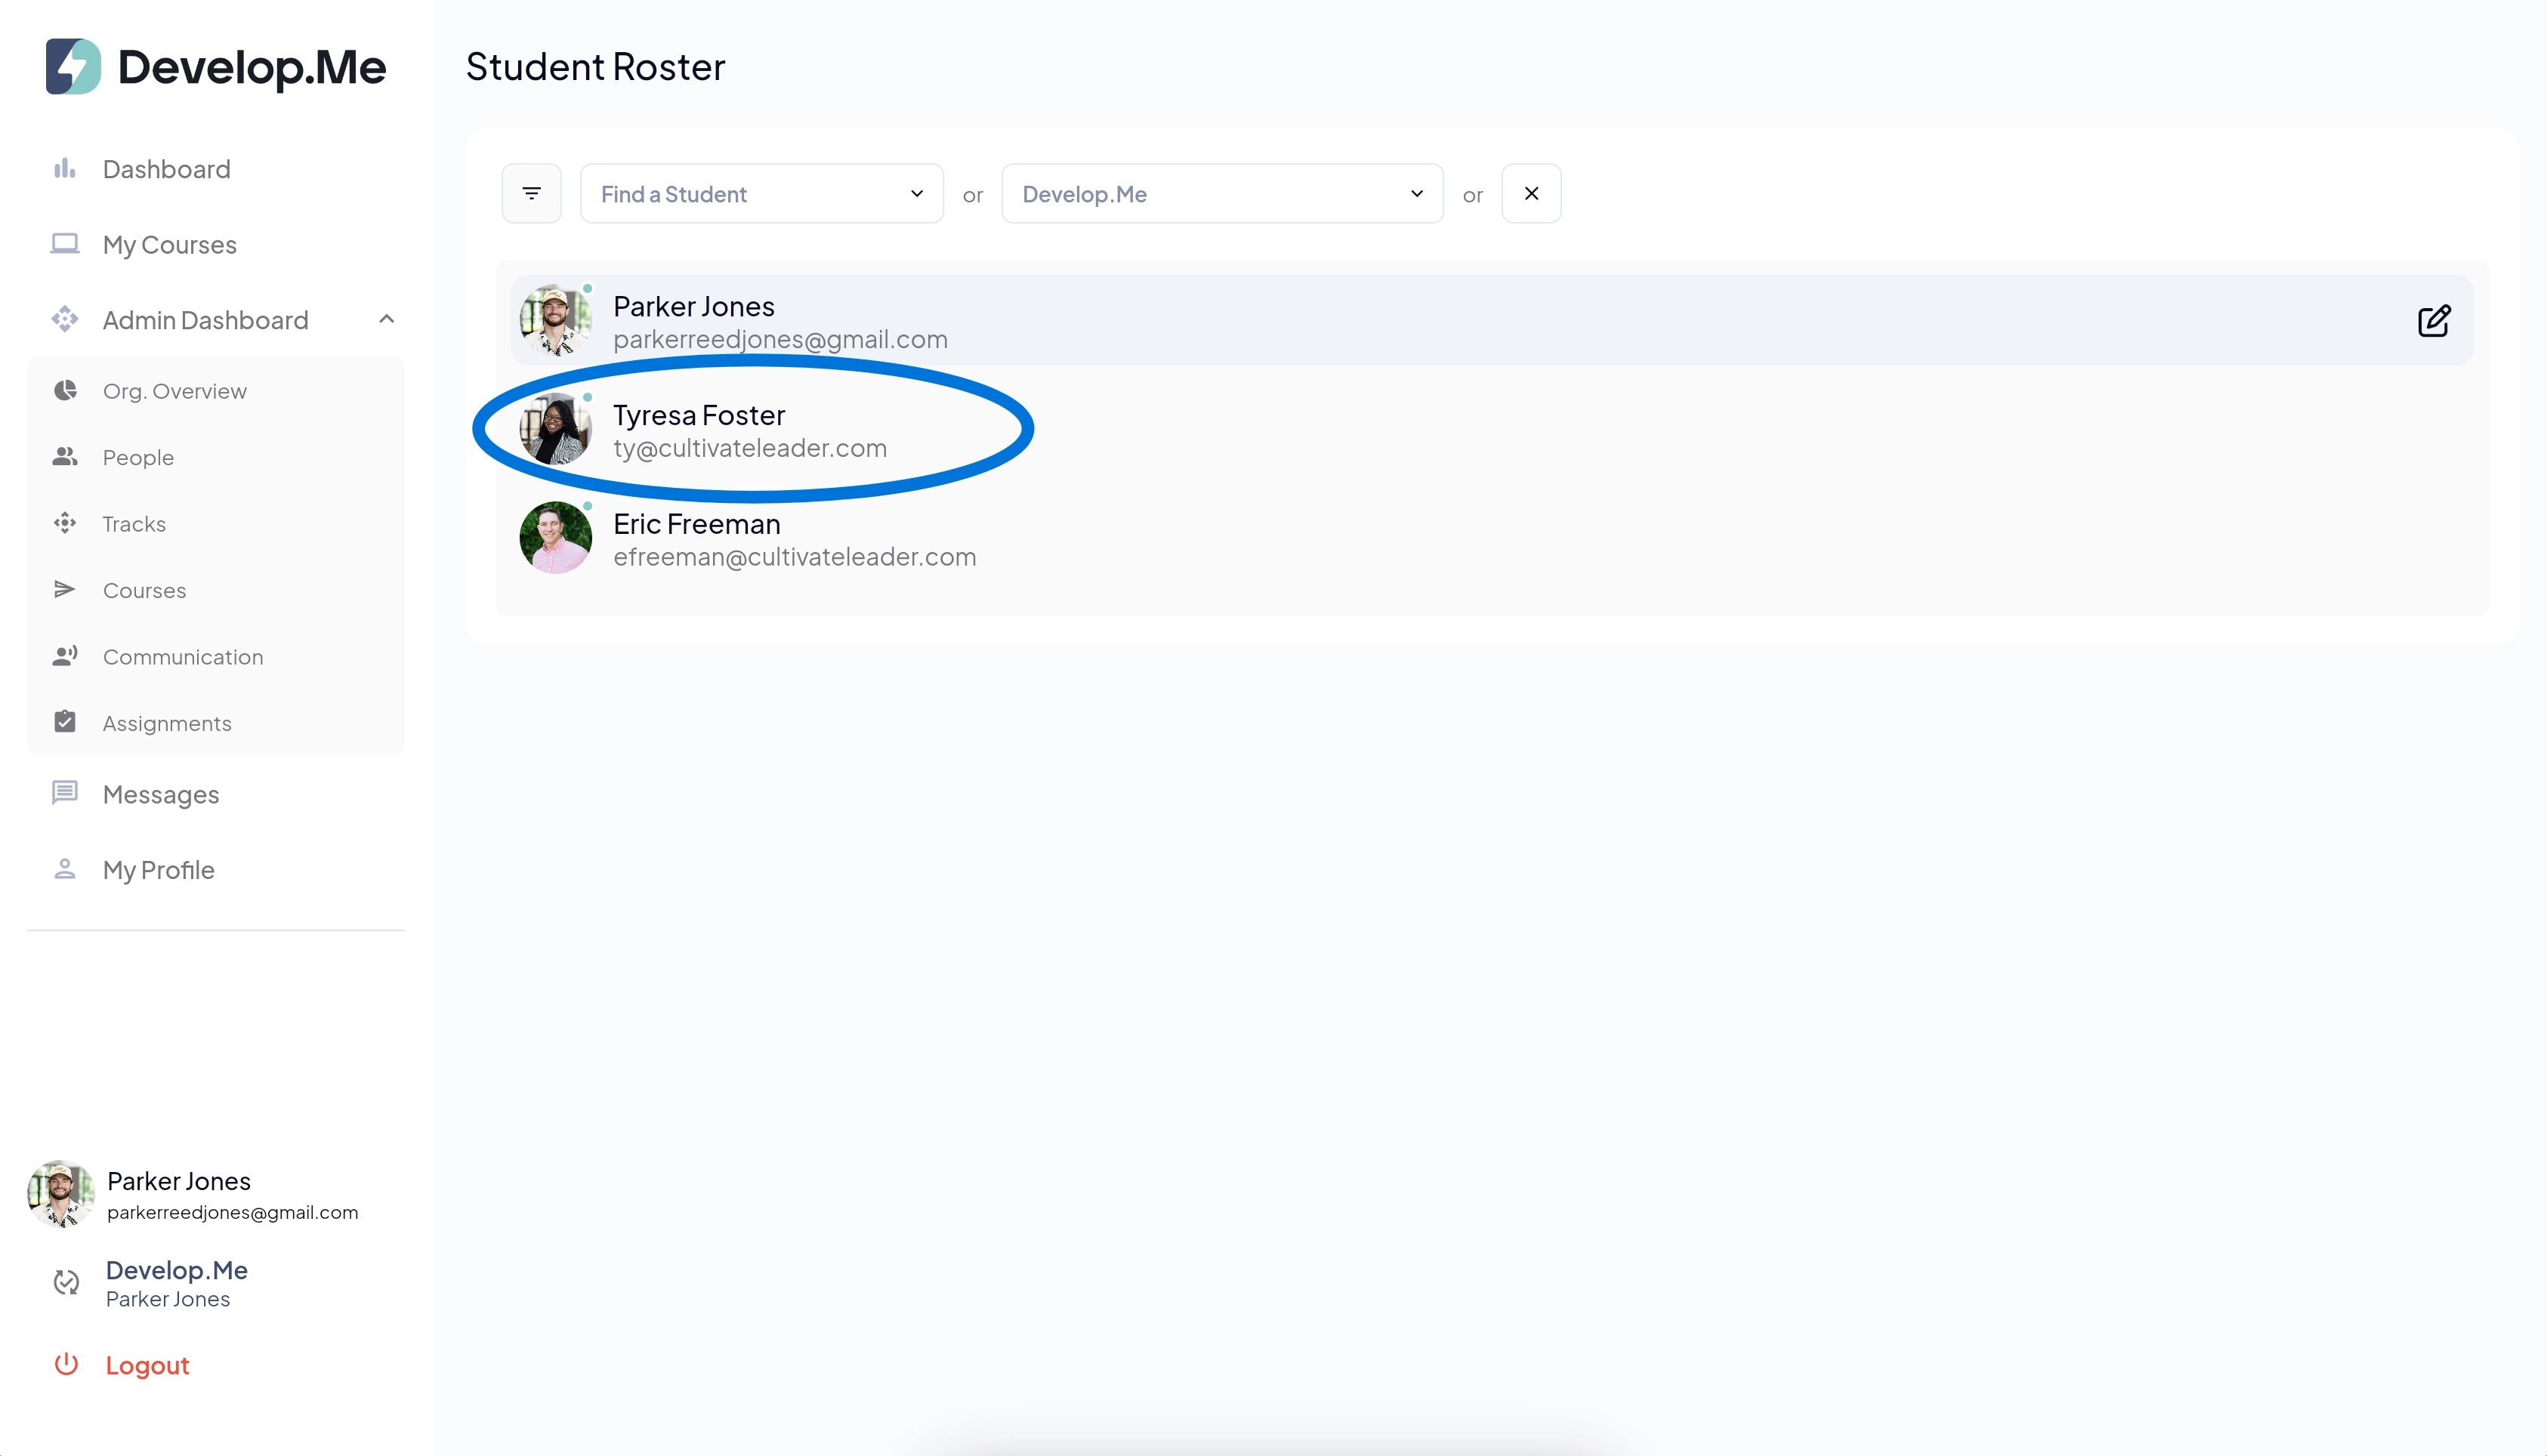
3. Click on the user’s name to open and view their full profile.
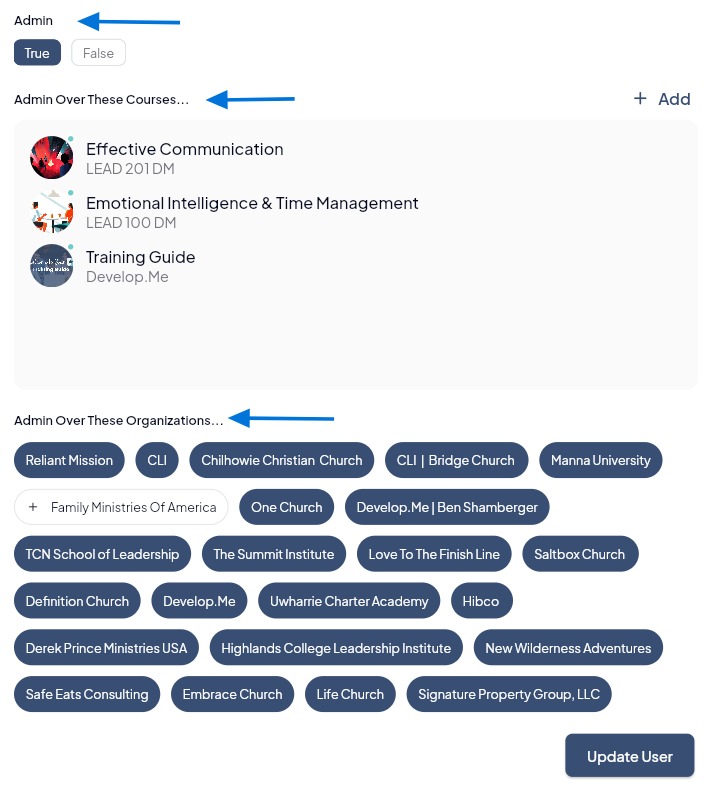
4. To set different[[ ]]Admin[[ ]]privileges, follow the steps below:
Course-level admin
- Leave Admin set to True. Under Admin Over These Courses, click + Add, select the course(s), then click Update Users. This gives the admin permission to manage only the selected courses.
Organization- level admin
- Set[[ ]]Admin[[ ]]to[[ ]]True[[ ]]to grant admin privileges. Then, select the organization under the "Admin Over These Organizations" section. This gives the admin permission to manage users, courses, and communications for the selected organization. Click[[ ]]Update User[[ ]]to save your changes.
Cohort-level admin
- For instructions on assigning an admin to a cohort, see the[[ ]]How to Create a Cohort[[ ]]guide.
5. Congratulations, you've successfully designated an admin!