
How To Bulk Create A Cohort
This guide provides step-by-step instructions for admins on how to create a cohort and enroll multiple users at once. It is designed to make it easy to organize users and manage course access.
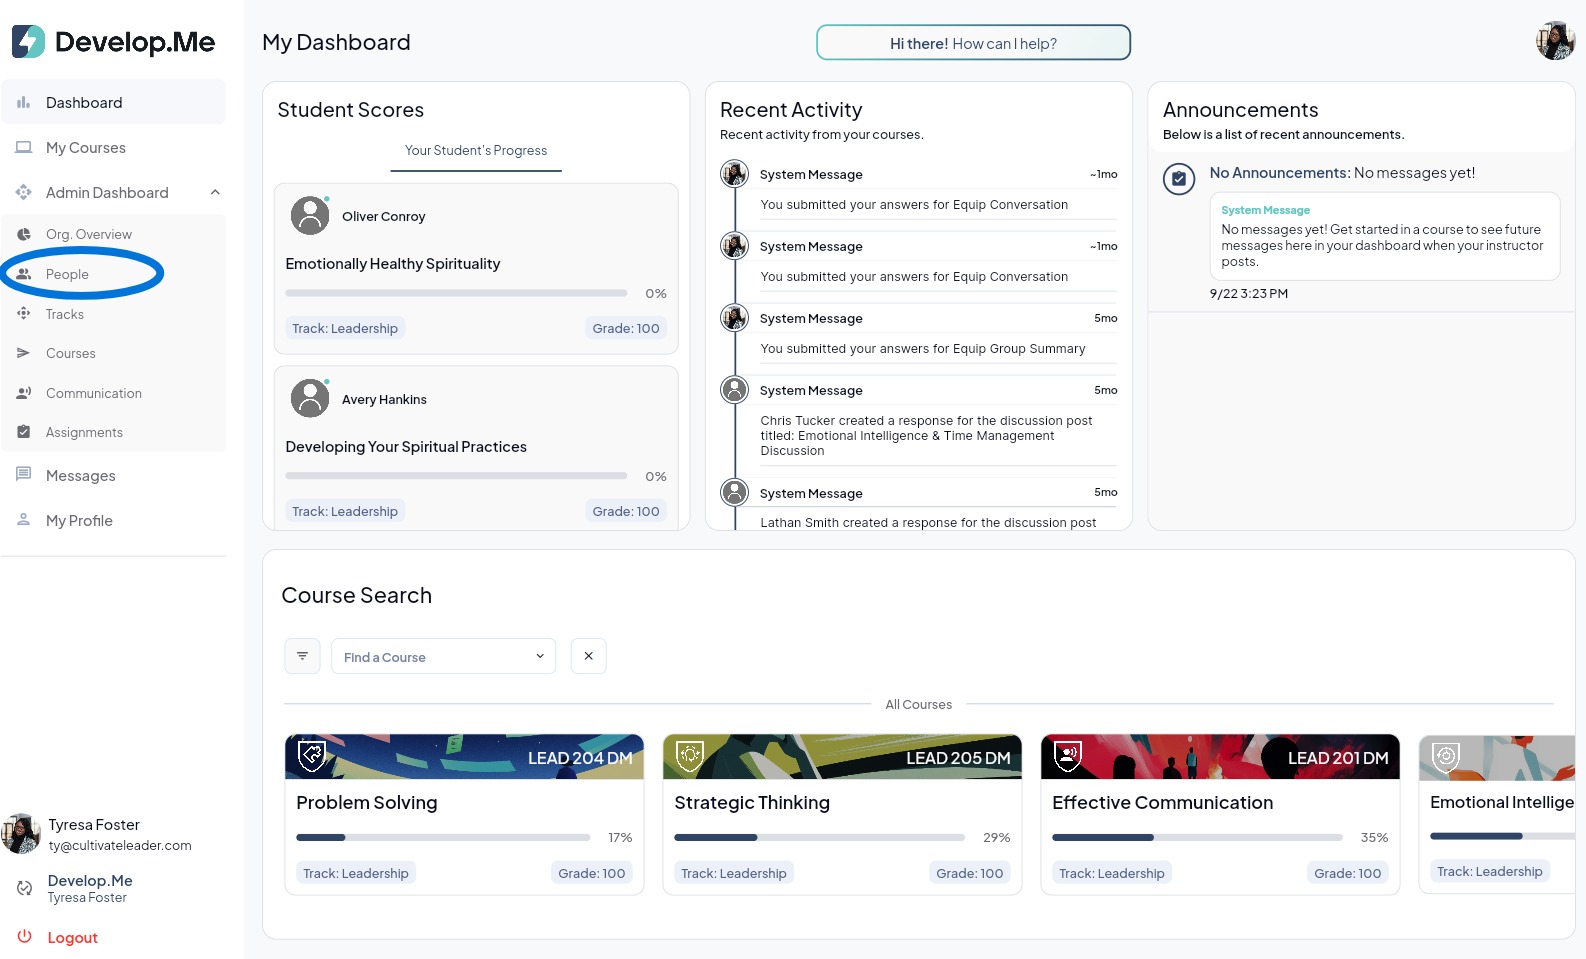
1. Navigate to “People”,from the left-hand menu.
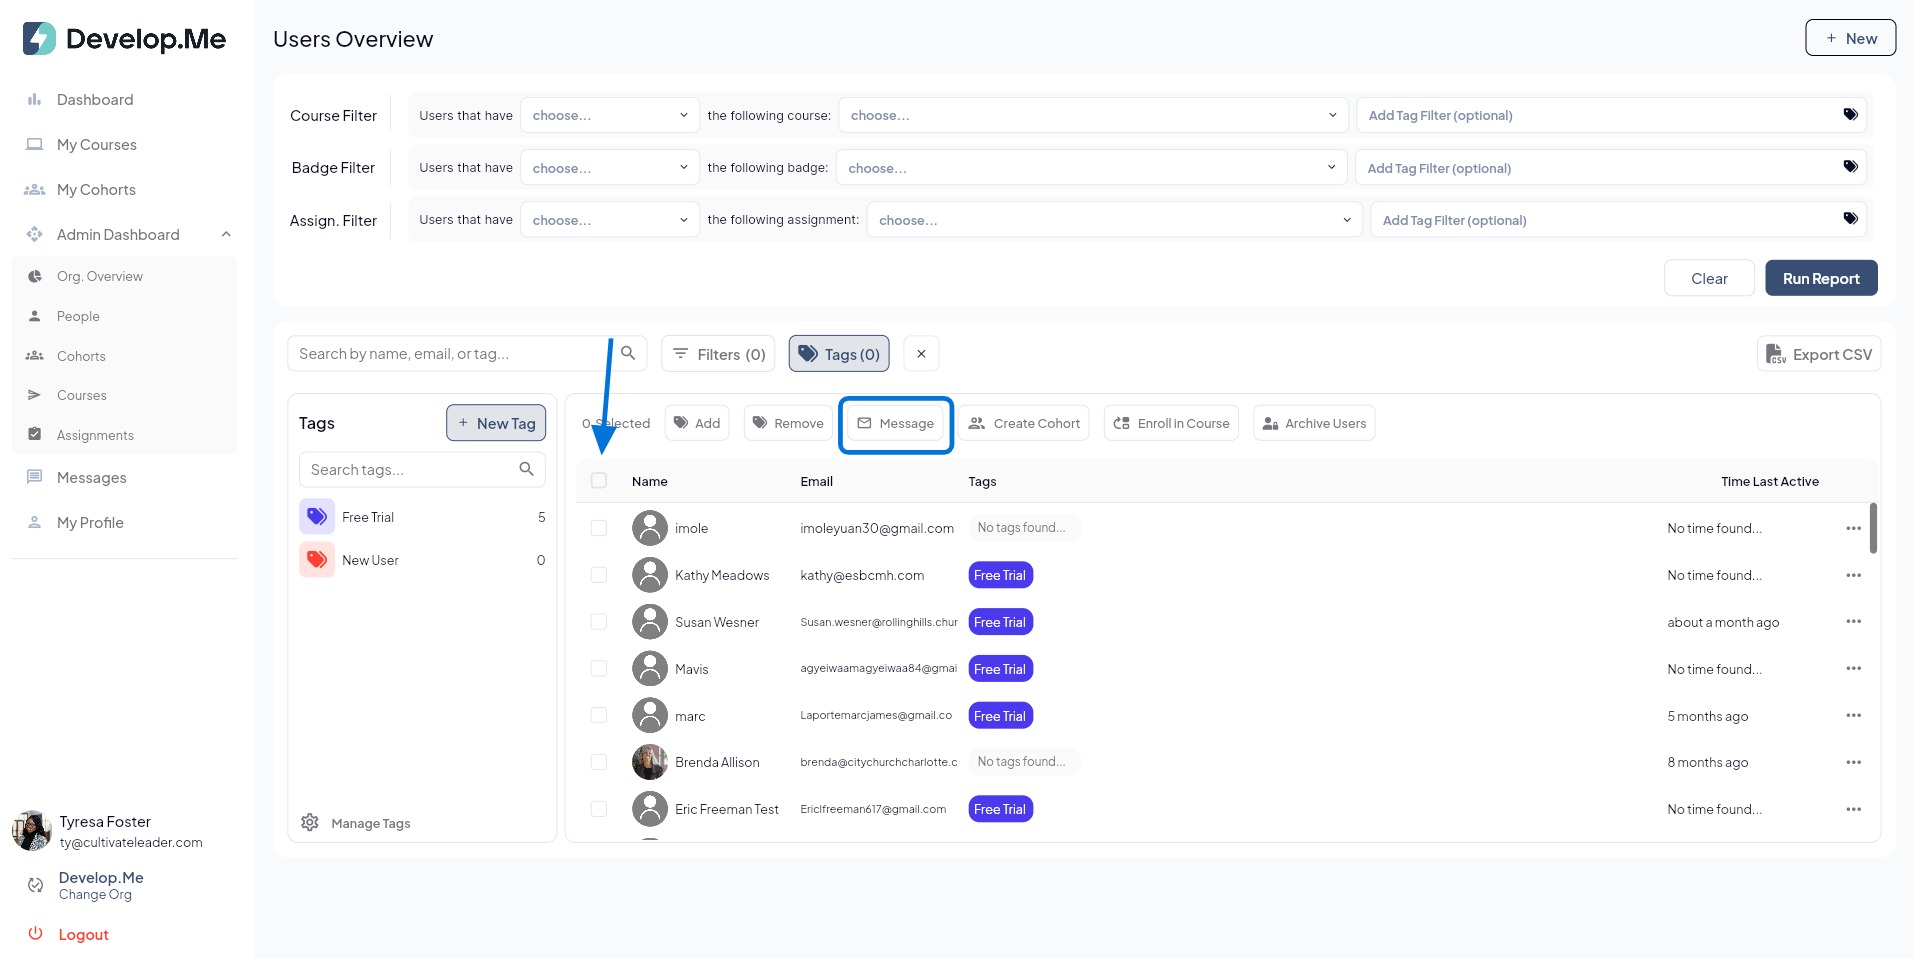
2. Next, add the users who should be included in the cohort. You can select specific users or filter by a specific tag in your organization. Review the user list and deselect anyone you do not want to include.
Please note:The cohort admin must first be added as a user in the cohort before they can be assigned as the cohort admin.
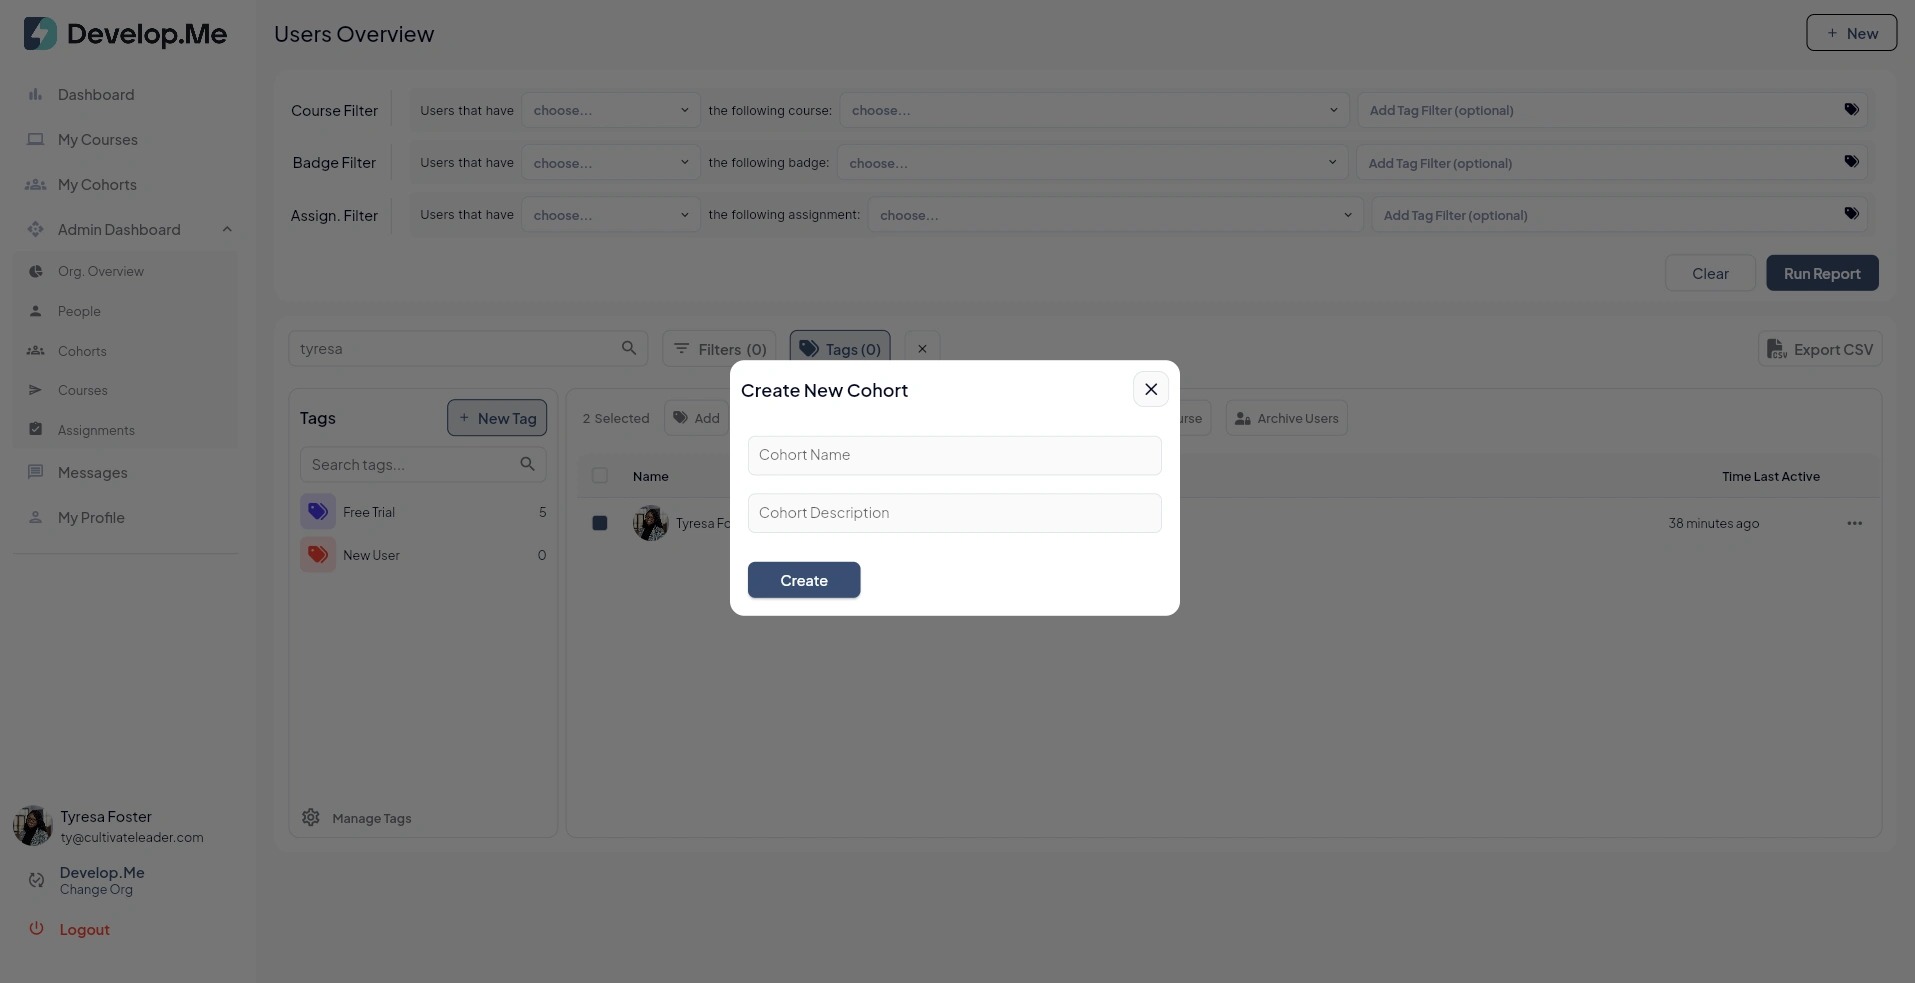
3. Enter the name of the cohort and a brief description. Next click "Create".
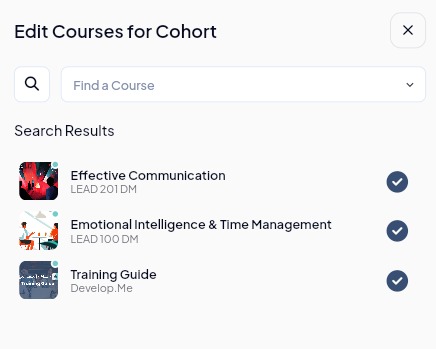
4. Once all users and admins have been added to the cohort, click the "Edit Courses" button. Next, click the circle with the checkmark next to each course you want to assign to the cohort. Continue selecting courses until all desired courses have been added, then close the Edit Courses window. Your selections will be saved automatically.
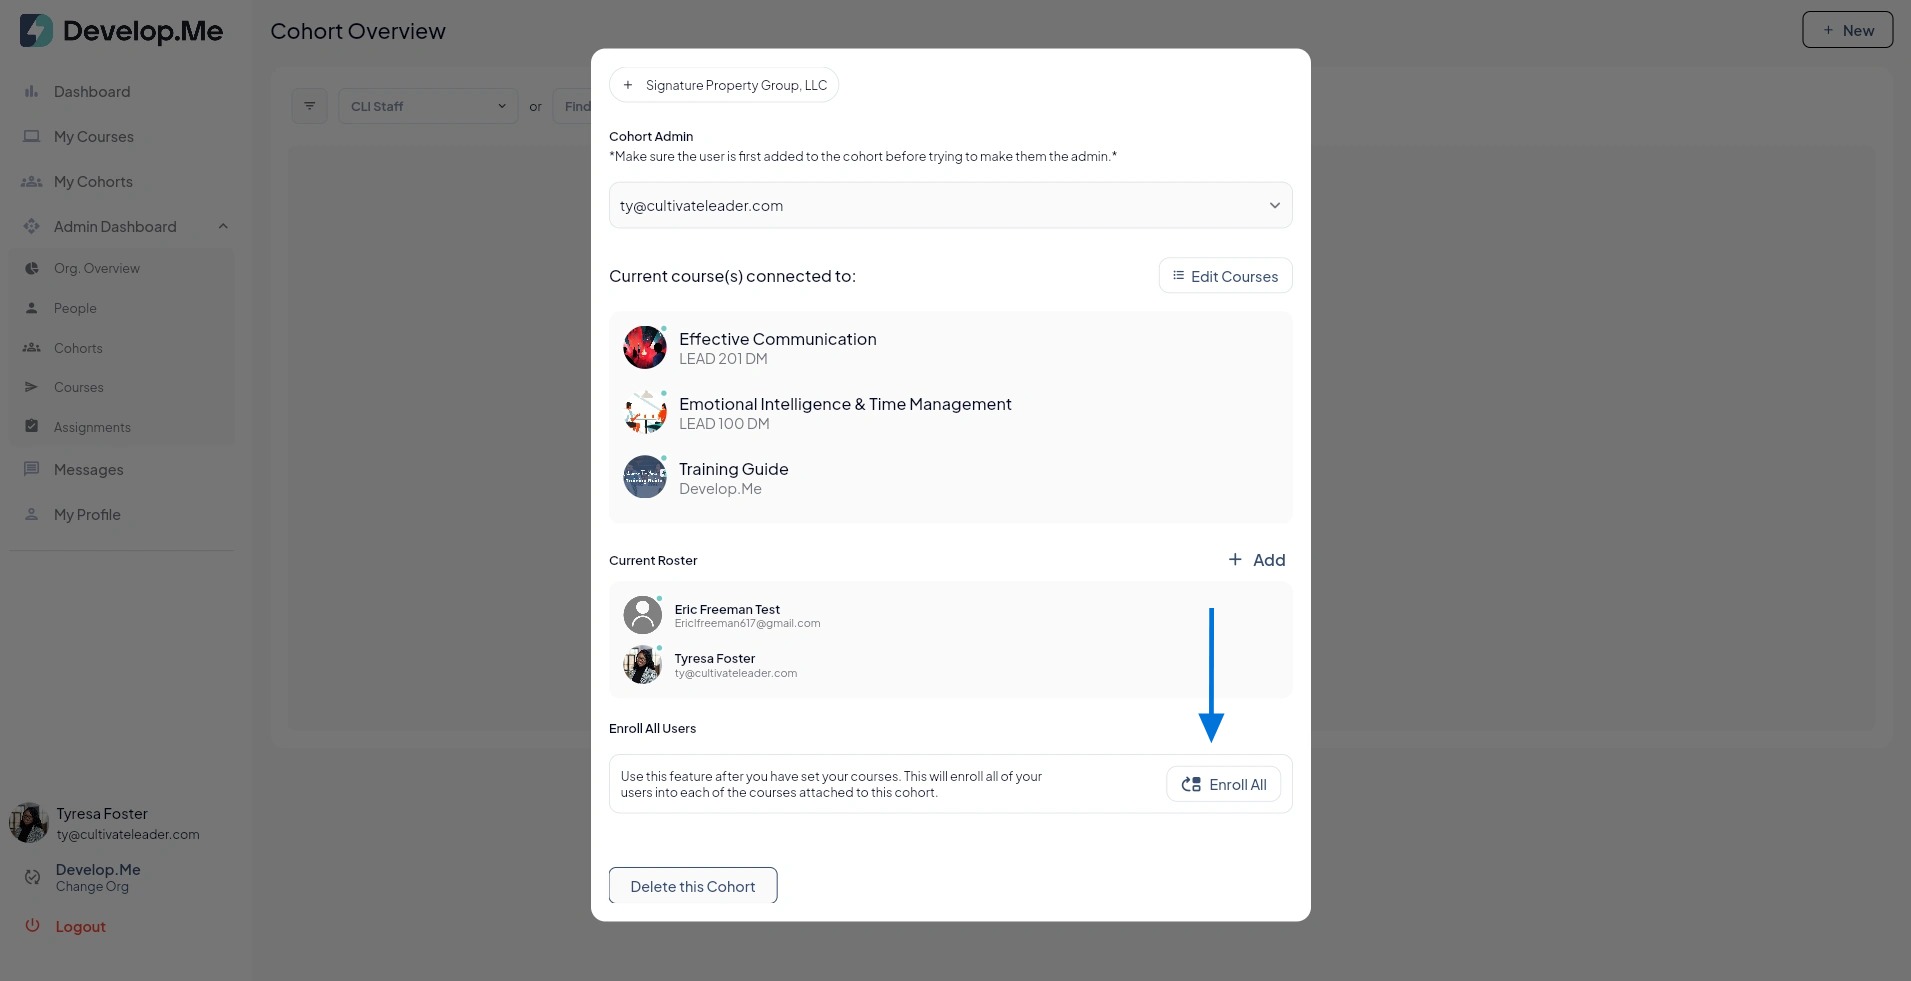
5. Once a cohort has been created and all users, admins, and courses have been added, click the “Enroll All”button. This will activate the cohort and enroll all users in their assigned courses, giving them immediate access.
Please note: If you need to add additional users after the cohort has been activated, follow the steps above to add the new users, then click “Enroll All” again. This will enroll only the newly added users in the cohort's assigned courses.
6. Congratulations! You’ve successfully created a cohort for multiple users.