
How To Create A Cohort
This guide walks admins through the step-by-step process of creating a cohort within the platform. By creating a cohort, admins can organize participants into structured learning groups and manage enrollment more efficiently.
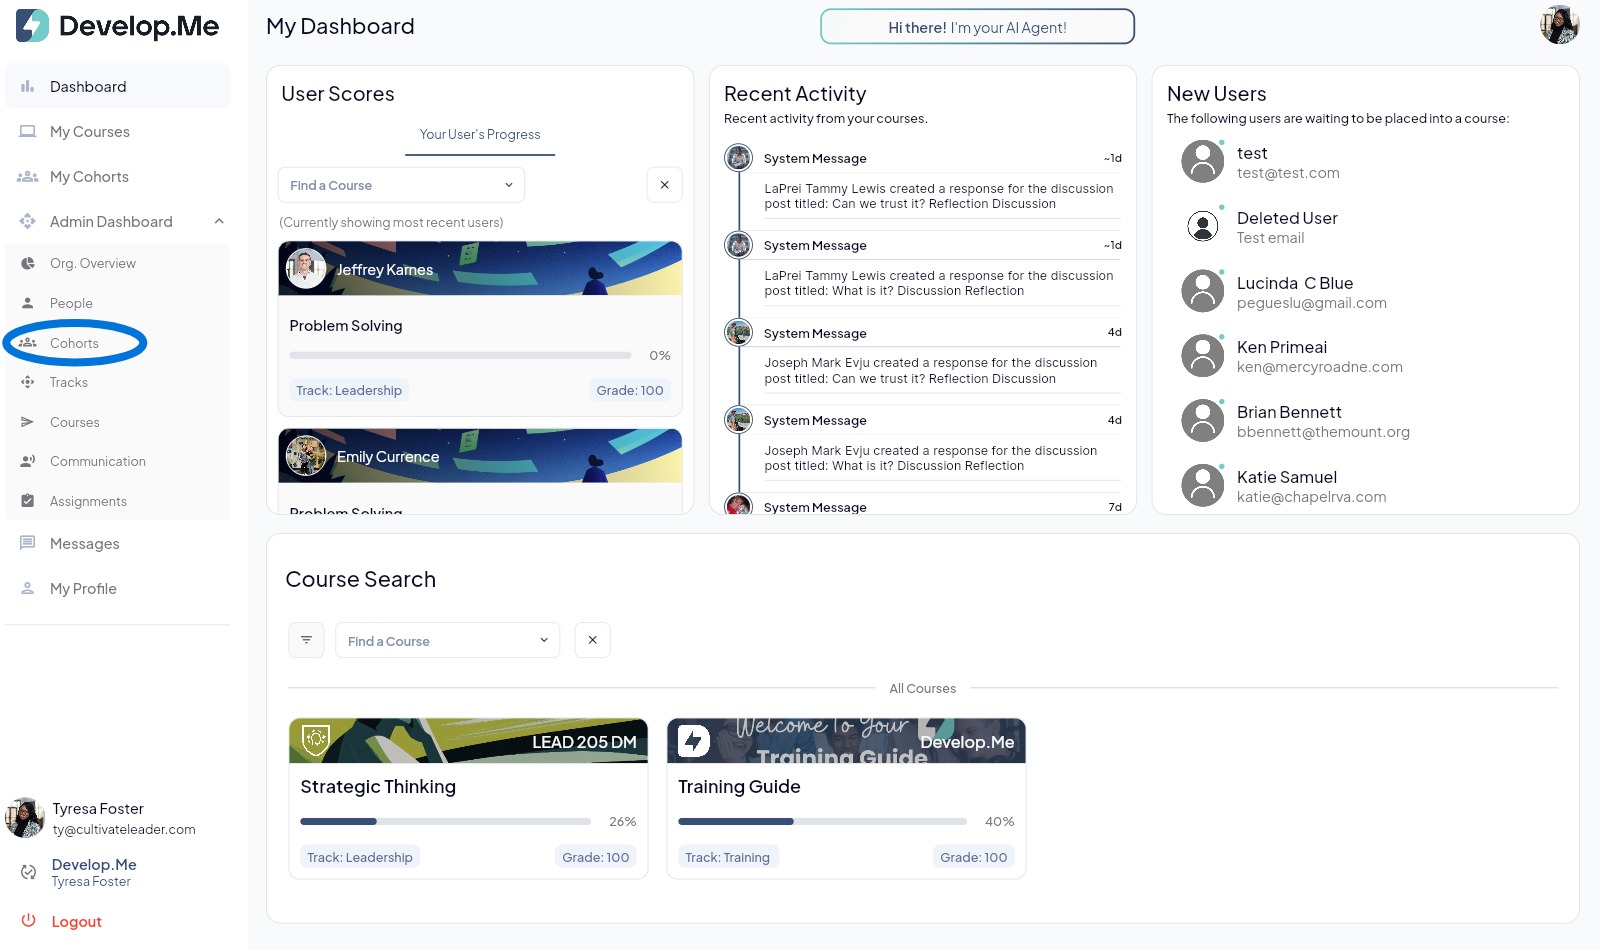
1. Navigate to the “Cohort” tab from the left-hand menu bar.
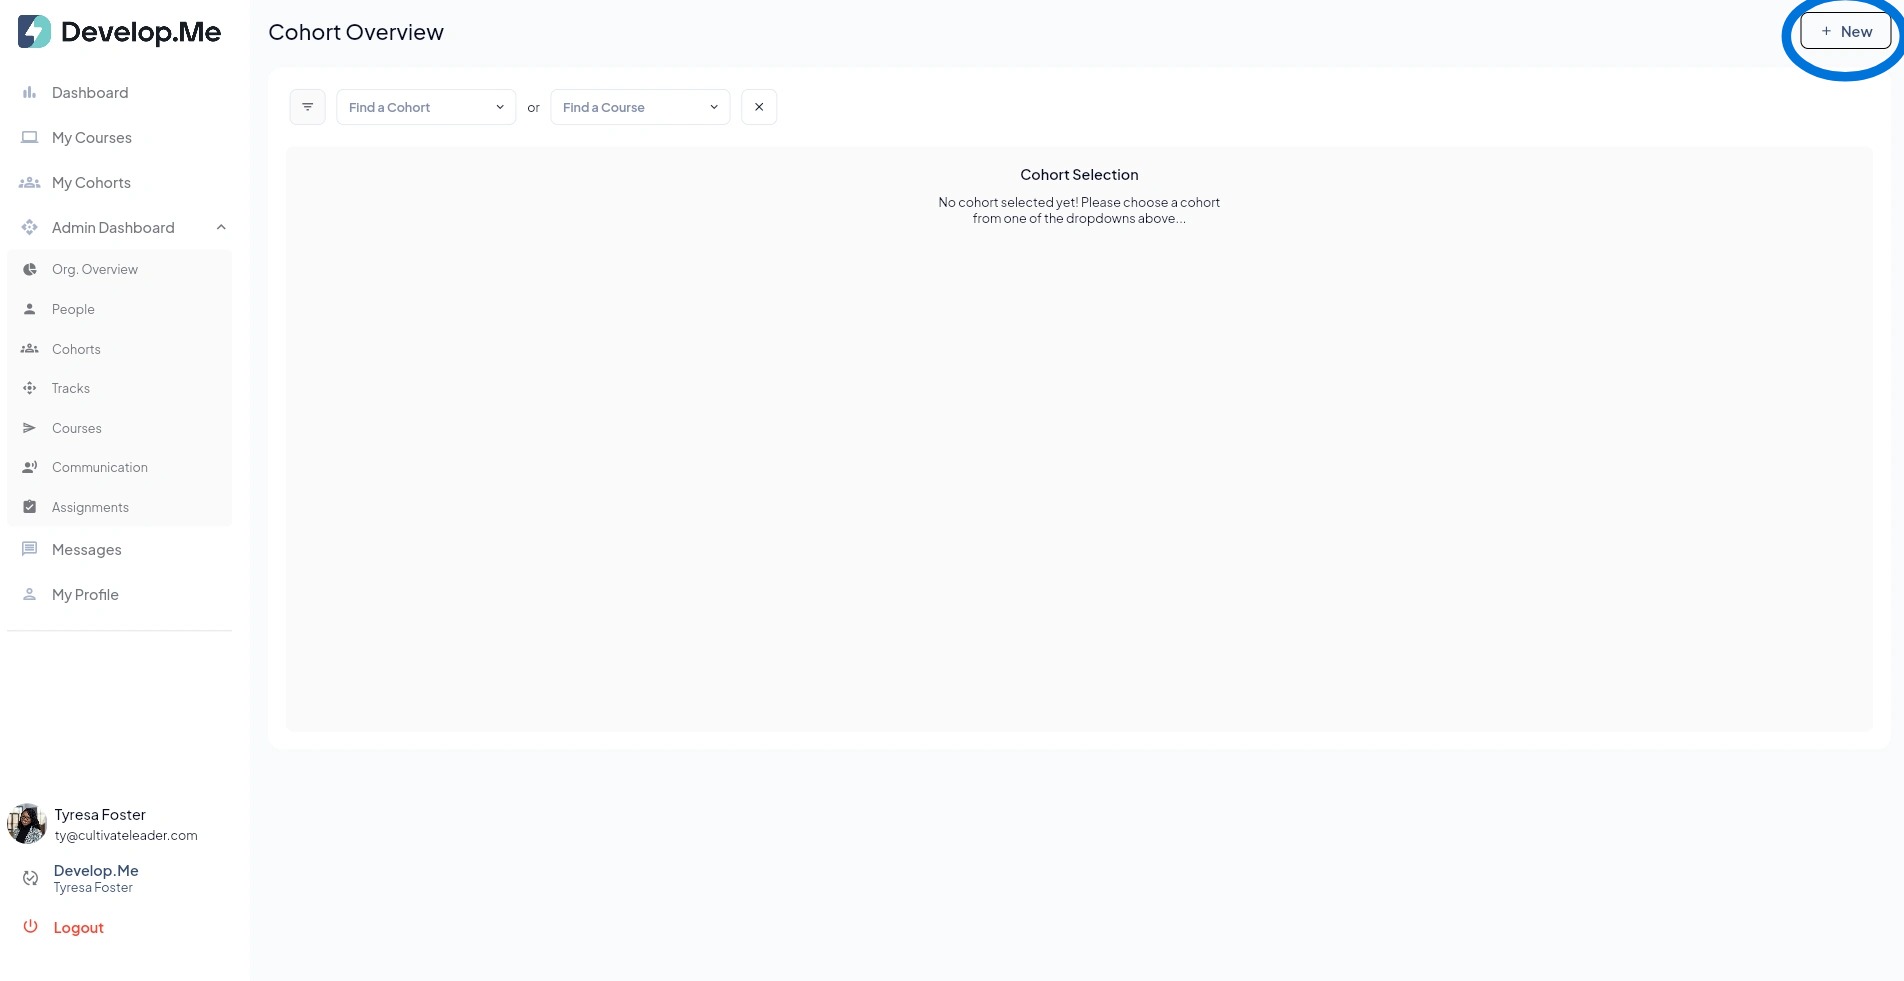
2. Next, click on "+New" in the top right-hand corner.
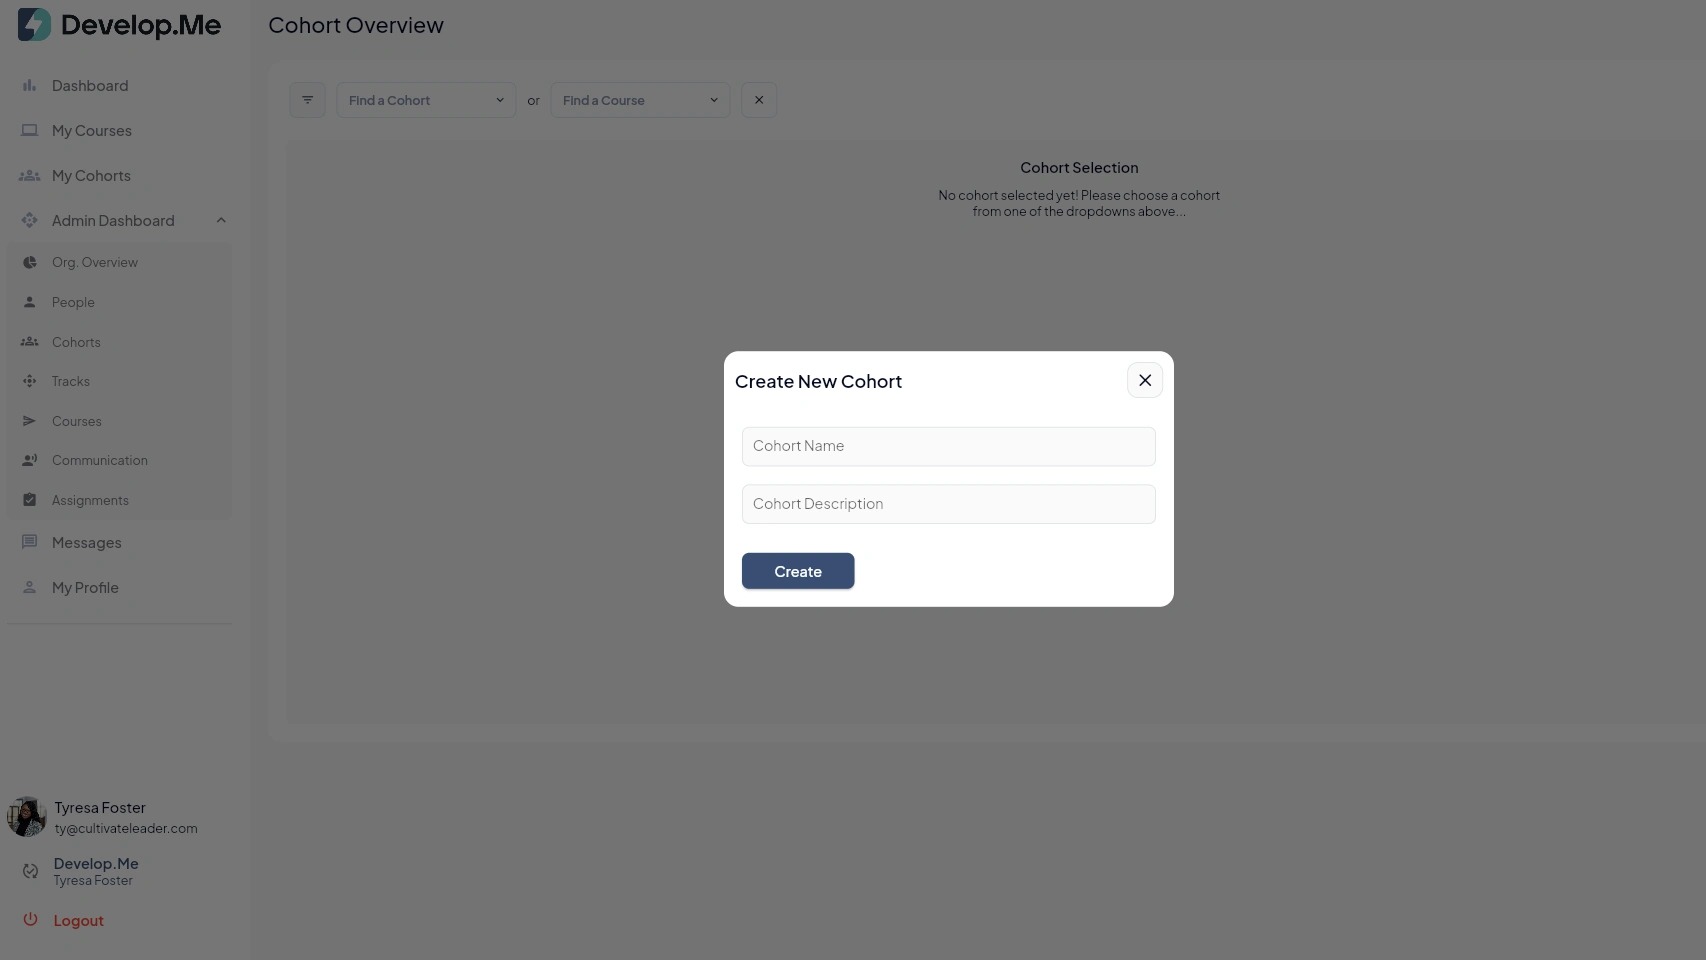
3. Enter the name of the cohort and a brief description. Next click "Create".
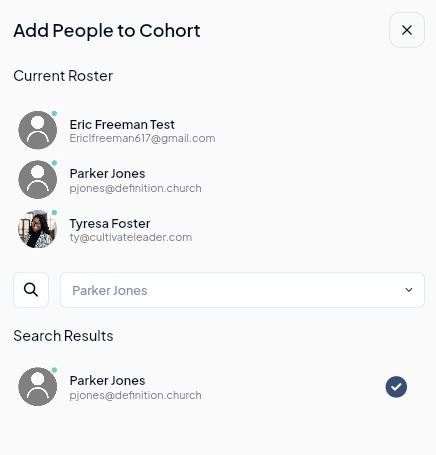
4. Next, add the users who should be included in the cohort. Once the users have been added assign an admin to manage the cohort.
Please note: The admin must first be added to the cohort as a user before they can be assigned as the cohort admin.
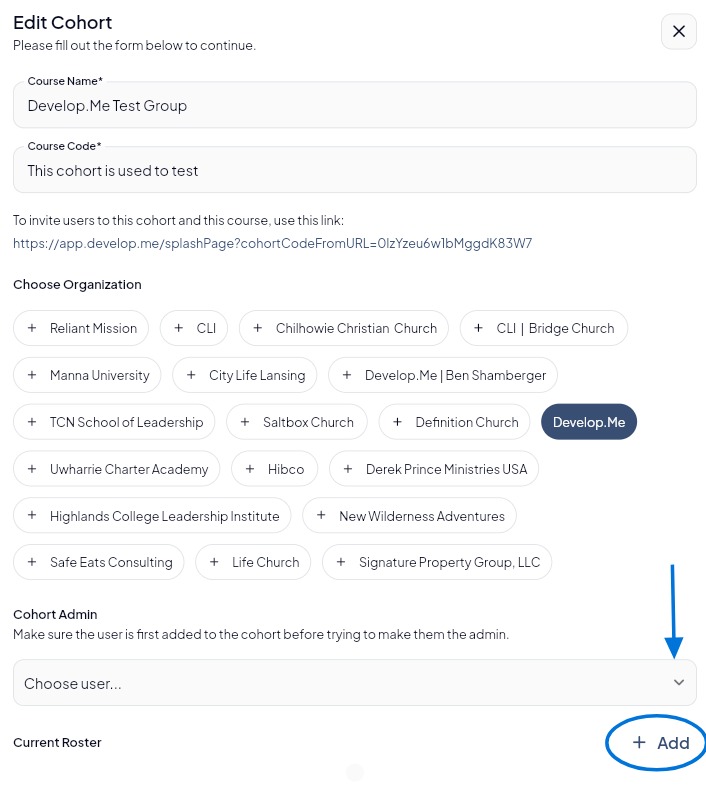
5. Use the search bar to find the user you want to add. When their name appears in the search results, click the circle with the checkmark next to their name. This will add the user to the cohort roster. Repeat these steps until all desired users have been added to the cohort.
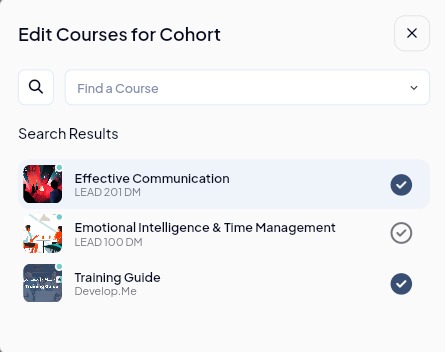
6. Once all users and administrators have been added to the cohort, click the Edit Courses button. Next, click the circle with the checkmark next to each course you want to assign to the cohort. Continue selecting courses until all desired courses have been added, then close the Edit Courses window. Your selections will be saved automatically.
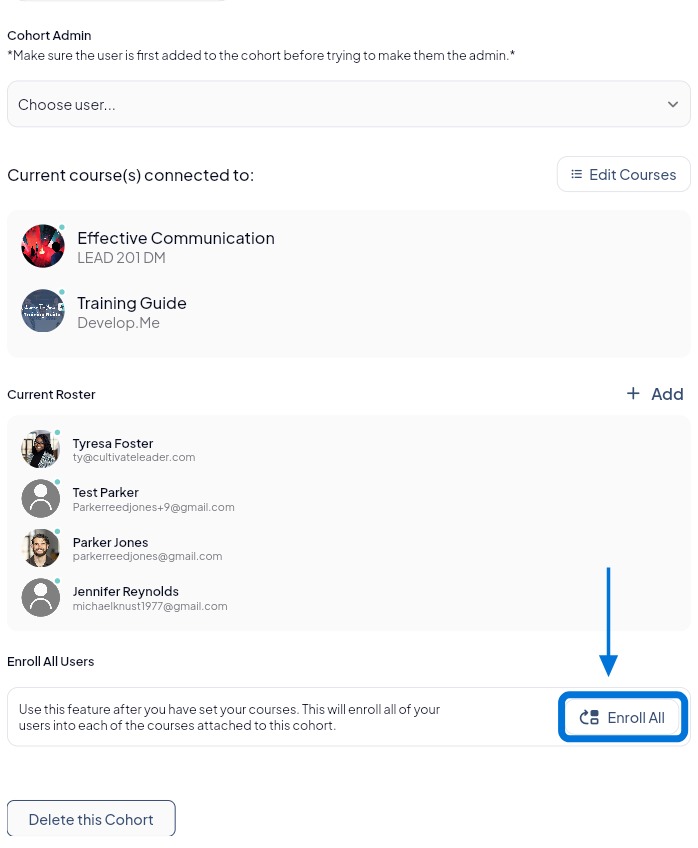
7. Once a cohort has been created and all users, administrators, and courses have been added, click the “Enroll All” button. This will activate the cohort and enroll all users in their assigned courses, giving them immediate access.
Please note: If you need to add additional users after the cohort has been activated, follow the steps above to add the new users, then click “Enroll All” again. This will enroll only the newly added users in the cohort's assigned courses.
8. Congratulations, you've successfully created a cohort and enrolled them into courses.